
In my last post I visited Kenfig Nature Reserve and experimented with wide-angle environmental shots using my 3D laser printed model toad. I used ambient light along with the in-built focus stacking feature on the Olympus E-M1 MKII. This training with my toy toad will hopefully give me the confidence to know what camera settings to use and judge just how close I can focus with wide-angle lenses when confronted with a real amphibian or lizard.
I revisited Kenfig Nature Reserve but this time armed with flash. So in this article I’m going to reflect on my use of flash and then go on to discuss using HDR (High Dynamic Range) as a suitable alternative. One of the problems I found when shooting wide-angle shots was that the camera sensor struggled to cope with the large dynamic range of the scene. My shots were set in a wooded environment with dark tree trunks in the foreground and overblown highlights in the branches and sky. Traditionally a graduated filter, popular with landscape photographers, could be used to underexpose the top half of the picture while giving the correct exposure to the bottom half. However, there are other solutions that can be used.

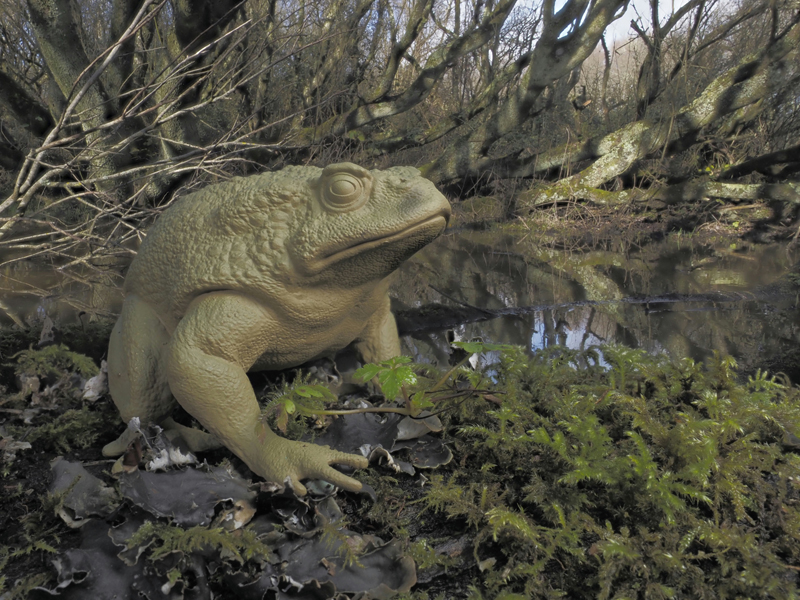
Bordering the Kenfiog Nature Reserve dune system is an area of marshland surrounded with moss covered willow trees, an ideal habitat for damp loving toads.
Olympus E-M1 MkII / Olympus 12-40mm f2.8 Pro / f8.0 / 1/50 / ISO 200 / HDR
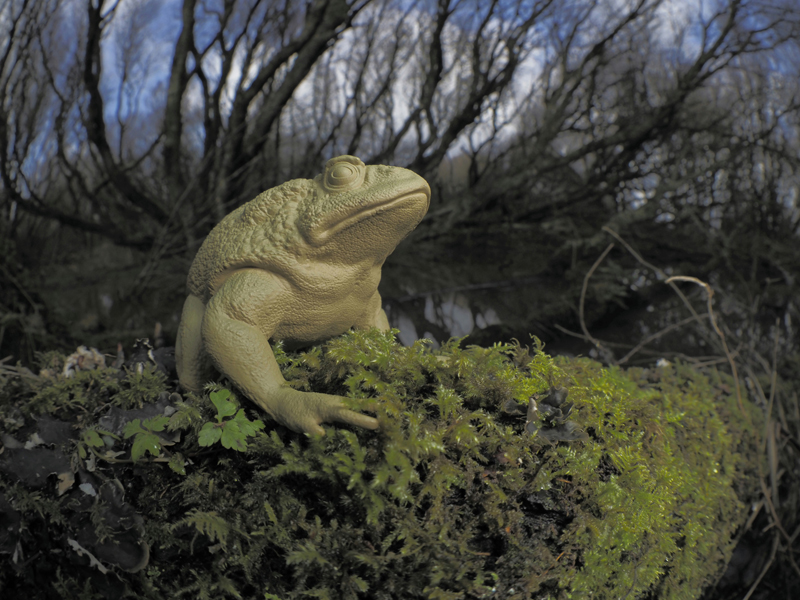
Under Exposing: By shooting RAW one can underexpose a few stops and then later when post processing increase the value of the shadow details. It’s amazing how much detail can be bought out of the shadows with this technique. However, one must be careful not to increase the shadows by too much as this will inevitably add noise to the image.
Olympus E-M1 MkII / Olympus 12-40mm f2.8 Pro / f11.0 / 1/50 / ISO 200 / underexposed flash and background
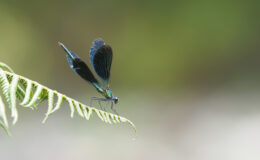
Flash: Another great help is using flash to illuminate the foreground and slightly underexpose the background. Gauging the amount of flash-light and ambient light is a challenging discipline requiring practical experience along with some prior testing. By experimenting one can learn how to adjust the flash intensity properly so that the foreground subject is not overexposed. One should also use a diffuser correctly to soften the light and avoid blown highlights. The use of a diffuser is even more of a challenge when using a fisheye lens. With the fisheye len’s 180 degree view, it’s difficult to avoid putting any distracting object out of view. Even the feet of tripod legs are more than likely to get in the way of the shot!
Olympus E-M1 MkII / Olympus 8mm 1.8 Fisheye / f8.0 / 1/250 / ISO 200 / Wireless Flash and hand held diffuser
HDR: Many cameras, such as my Olympus E-M1 MKII have an HDR setting that allows you to take a multi-exposure HDR capture. This technique makes it possible to capture high dynamic range (HDR) images. It does this by taking several different exposures of the same subject matter and then combining them into a single shot packed with detail. This technique is particularly appropriate for woodland scenes with extreme dark and light areas as it avoids underexposed and overexposed areas. It’s also a great to use on wide-angle lenses which are more prone to blown highlights than longer length lenses.
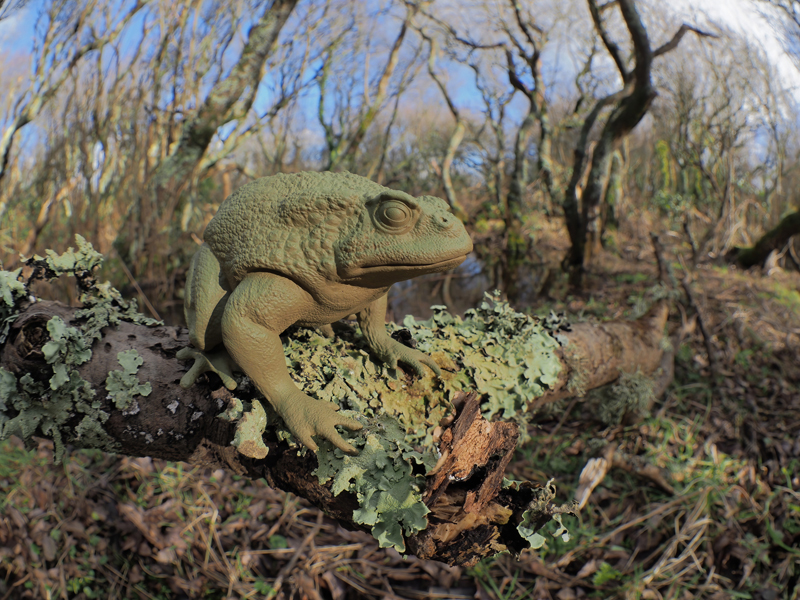
Olympus E-M1 MkII / Olympus 8mm 1.8 Fisheye / f8.0 / 1/80 / ISO 200 / HDI
In an ideal situation there would be no need to use any of these techniques. However, when the right situation arises and used thoughtfully, all three methods can be great solutions to achieving better exposed images.
Leave a Comment