In the Studio

In the Studio

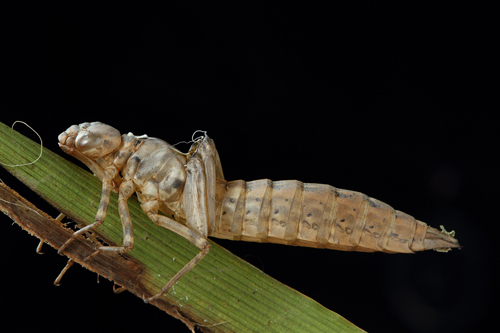
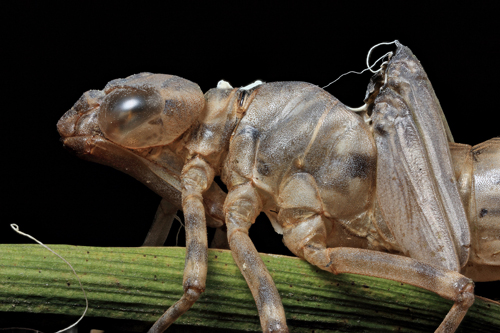
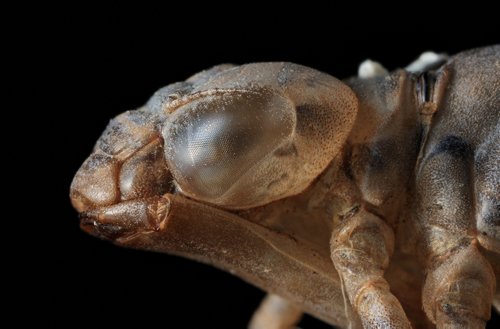
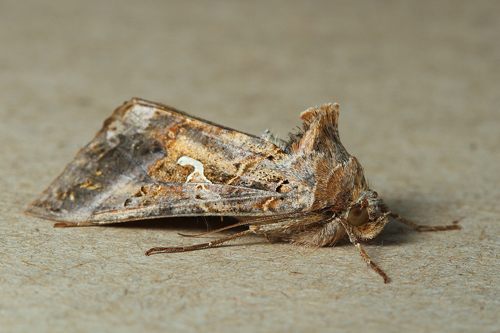
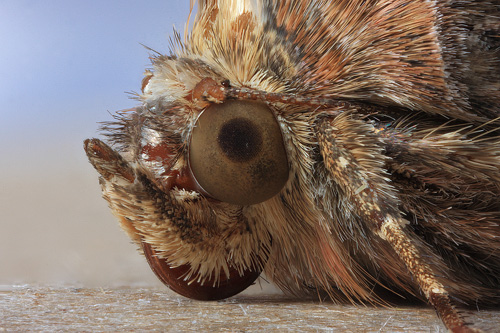
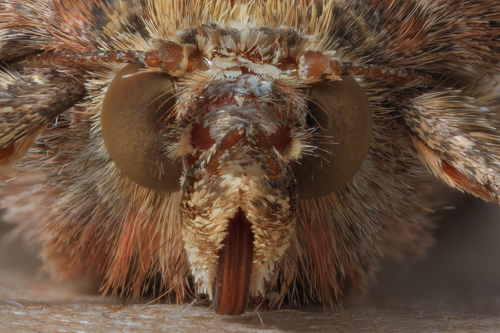
While the majority of my captures are taken in the field there are times when I will take a specimen into the studio allowing me more control over the scene, being able to easily modify the lighting, background and move around the subject without anything getting in the way.  Exuviae can easily be collected and make great subjects for the studio. One can also document the process of metamorphosis which in moths and ladybirds can take up-to two weeks and would not be practical or feasible outdoors.

There are ethical considerations to take into account because moving an insect from its environment can lesson its chances of survival. I therefore avoid taking insects from the field to the studio and will only choose specimens found in a dormant state in my garden, shed or home. I also avoid freezing insects even knowing that some photographers have done it successfully without harming them. Personally, I feel uneasy about this and would rather not take the risk. The well being of the subject must always come first with photographic considerations second.

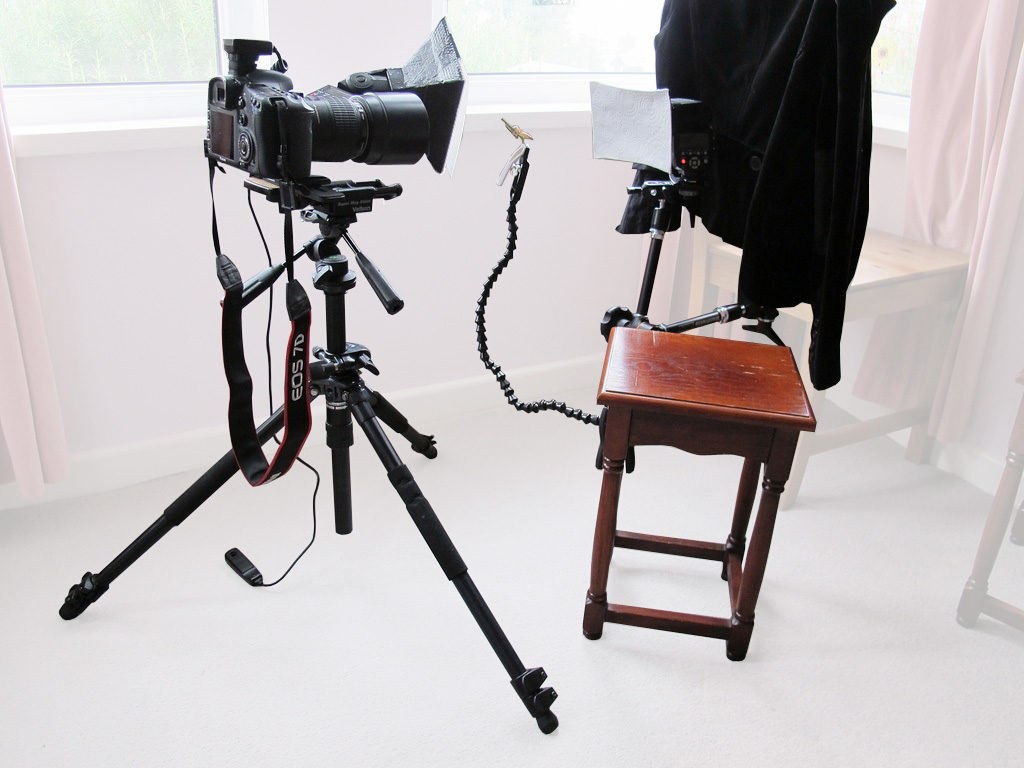
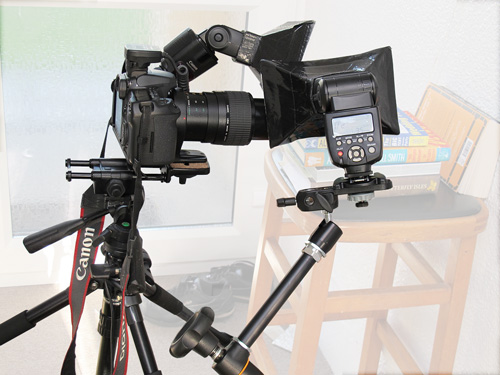
Once I have completed the studio session I will always make sure that I place the insect back, exactly where I found it. As an amature photographer, when I say ‘studio’, I am not talking about a full blown photography studio, I just mean indoors, in a controlled environment. In most instances the top of a small table is used as my studio! This makes setting up a macro photography studio inexpensive and easy to pack away when not needed.

Camera Set-up for Dragonfly Exuvia

I was lucky enough to find this wonderfully preserved dragonfly exuvia. I did the obligatory field-shots and then took the exuvia home to do some studio shots where I wanted to experiment with magnification and lighting. The exuvia was still clinging to its perch which made the use of a Wemberly Plamp ideal for gripping the stem. The plamp could then be swiveled or bent into position.

I normally use a Wemberly Plamp: Basically, a plamp is a ball-and-socket segmented arm with a clamp fixed to each end. One clamp can fasten to your tripod leg, while the other can be used to grasp an object, such as the stem that an insect is perching on. It can also be used to hold a reflector in place.

The exuvia is the exoskeleton of the dragonfly which it lived in for a number of years as a nymph in an aquatic environment. The outer casing is from the recently emerged dragonfly and the exit hole is just behind the head, the white threads are the breathing tubes.

There are three light sources:

1. Natural light coming directly from the window and illuminating the front of the exuvia, particularly the top of the head and along the top of the abdomen.

2. Heavily diffused main flash (Speedlite 430EXII). Used to illuminate the side of the exuvia.

3. Second diffused flash (Yongunuo YN560III) used in some shots to provide backlighting and in others to soften the shadows caused by the main flash. The use of a Manfrotto Magic Arm made it easy to position the flash exactly where I wanted it.

The hanging black velvet jacket was used as a backdrop in order to obtain a dense black background.  I used a Canon 100mm macro in order to capture the whole of the exuviae and then switched to the Canon MP-E 65mm macro lens for higher magnifications.

Canon 100mm macro:  Showing the whole of the exuviae.

Canon MP-E 65mm macro: Set at 2x magnification and capturing the head, torso and legs of the exuviae.

Canon MP-E 65mm macro: At 3x magnification and focusing on the head profile.


Camera Set-up for Silver Y

My set-up for photographing the Silver Y moth, using Canon MPE 65mm macro at 2x, 3x and 4x magnification:

Speedlight 430EXII on Canon Flashbracket SB-E2 (buying this bracket new is expensive but I managed to pick-up a second-hand one from MPB Photographic. This is a very solid bracket). A Manfrotto ball head 492 is screwed onto the bracket to allow the flash to be tilted to the correct angle and/or tilted nearer to the subject.

Velbon Super Mag Slider: This is a light and very well engineered focusing rail which is reasonably priced. Note that I have the camera mounted back-to-front onto the focusing-rail . It would normally be facing in the other direction towards the rail and not away. I mounted it backwards as it allowed me to move the lens within approximately 2 inches (5cm) of the moth. It was more difficult to achieve this the other way, especially without a plamp.

Canon Remote Switch RS8-N3: easily forgotten but very useful for when you need to trigger for long exposures on the tripod. You can always use the self-timer on the camera but this switch is so much more convenient. The remote switch also guarantees that the camera isn’t moved a fraction (which can easily happen when pressing the shutter button on the camera) At such high magnifications any movement could potentially ruin the shot.

Yongnuo Speedlight YN560III: this is a manual only flash which can be triggered either wirelessly or optically. A second flash is very useful for softening the harsh shadows normally caused by only using one flash.

Yongnuo RF-603CII. I used two of these radio triggers, one on the camera to fire the 430EXII and another on the 430EXII to fire the YN560III. Note that the YN560III has an inbuilt receiver and so doesn’t need one. The only limmitation with this set-up is that I have to use the 430EXII in manual mode. This isn’t a problem and providing I take test shots it gives me more control over estimating the correct flash output. If I decide to use TTL then I simply forget about using the RF-603CII and trigger the YN560III optically.

For diffusing the flash I made my own soft boxes. Finally, I use a Manfrotto Magic Arm, in order to position the second flash exactly where I wanted it.

Canon 100mm macro:  Showing the whole of the moth.

Canon MP-E 65mm macro: Set at 3x magnification and capturing a profile of the moth.

Canon MP-E 65mm macro: At 4x magnification and focusing on the front view of head.